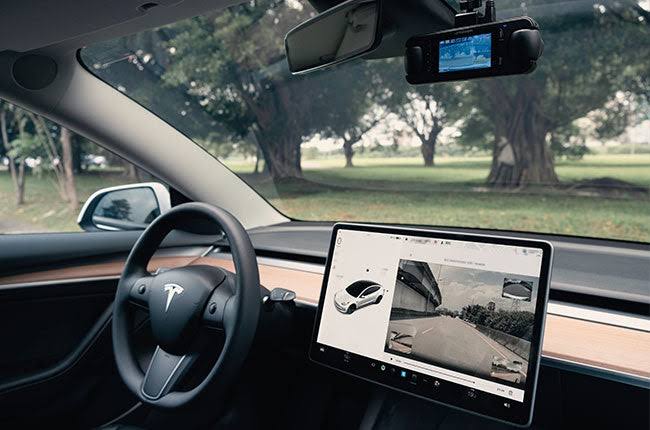
Tesla vehicles come with dashcams that record video footage of every incident that takes place on the road. These dashcams serve as digital eyewitnesses, providing car owners with videos of their surroundings when driving.
But they only store 1 hour of footage in a continuous loop, meaning that after an hour’s drive, you will experience a Tesla dashcam overwrite and lose the recorded footage. This can also happen if the connected USB flash drive runs out of space or footage is deleted or corrupted.
The good news is that you don’t have to worry too much even if the worst happens. There are strategic ways to recover Tesla dashcam footage and in this article, we will show you.
Tesla dashcam requires that a properly formatted USB flash drive is inserted into your car’s USB port to store and recover video recordings. Enable the dashcam by clicking on Controls > Dashcam. This will allow you to choose how and when videos are saved. The 3 options available are:
Explained below are 2 reliable solutions on how to recover Tesla dashcam footage. Follow the instructions properly to get back your lost dashcam recordings.
Regardless of how large your USB flash drive is, the Tesla dashcam supports saving the newest 1 hour footage. You can only have extra recordings if you manually press the dashcam icon during the drive to save specific clips.
However, when footage is lost, you can still make a recovery by using professional file recovery software like TinyFrom ONERECOVERY. This is the most viable and effective way to recover Tesla video recording.
ONERECOVERY can be used to restore Tesla dashcam footage no matter the loss scenario whether it’s the 1-hour automatic deletion, accidental deletion, corrupted flash drive, formatting errors, etc. It supports various video formats like MP4, AVI, MOV, M4V, MPG, and RMVB.
The software has a user-friendly interface, enabling users of all skill levels (including tech-savvy experts and beginners) to seamlessly recover Tesla dashcam footage.
👉Follow these steps to reverse Tesla dashcam overwrite and recover lost video recordings:
Another approach to recover your dashcam footage is to take advantage of the Tesla data and privacy feature. As a Tesla owner, you have the ability to request a copy of data associated with your Tesla account.
To confirm eligibility, when you request a copy of your data, a verification process will be conducted. After your eligibility is confirmed, the data associated with your Tesla account will be arranged in a file format for easy understanding. As soon as the data is ready, a notification will be sent to your email, prompting you to download your requested data within 7 days. After the 7-day period, the data will be removed, meaning you will have to request again.
❗NOTE: Requesting and downloading your data once doesn’t mean it has been deleted from Tesla’s servers. You can request and download it again.
👉Follow these steps to request a copy of your data from Tesla:
Sometimes your Tesla dashcam footage might be corrupted, making it difficult to watch the video recordings. This can be caused by several reasons, such as ejecting the flash drive without turning off the dashcam first or interrupting footage when it’s saved to the drive.
It’s recommended that you wait at least a minute after the footage is recorded before performing any action on your Tesla dashcam.
In case the footage is corrupted, you need to repair the video file first, so that you can watch it. To do this, you need a reliable video repair tool like ONERECOVERY Video Fixer. This is a free tool backed by advanced AI technology, with efficiency in repairing corrupted videos. It precisely recognizes corrupted areas in your video footage and determines the best repair method. Whether the videos are blurry, flickering, or choppy, they will be brought back to life.
👉Follow these steps to fix corrupted Tesla dashcam footage:
Once the footage is saved, you can see the clips on your dashcam touchscreen or a computer.
How to watch dashcam on Tesla via the touchscreen is possible when Model X is in Park. On the app launcher, touch the Dashcam icon. A list of video clips will be shown, arranged by location and timestamp. You can view any of the clips, pause, rewind, and fast-forward them as you want.
👉For how to watch Tesla recordings on the computer, you need to connect the flash drive to your computer and go to the TeslaCam folder. This folder contains 3 major subfolders:
With the solutions explained above, you don’t need to panic when you lose your Tesla dashcam footage. No matter the situation, you can rely on ONERECOVERY to recover Tesla dashcam footage. And you can use the ONERECOVERY video fixer to repair corrupted footage without paying any fee.
Here are questions people frequently ask when seeking for how to recover Tesla dashcam footage.
1️⃣How to Prevent Tesla Dashcam Footage Loss Again?
👉To effectively prevent Tesla video recording from being lost again, follow these 2 measures:
Also, the storage device should comply with the requirements stipulated by Tesla, which are:
2️⃣How Long Does Tesla Keep Video Recording?
It doesn’t record videos when the dashcam is off. And when it’s on, it continually records videos but only saves 1 hour of footage in a continuous loop. Tesla keeps the recent 1-hour footage until it’s overwritten or manually deleted.
3️⃣How to Retrieve Tesla Sentry Mode Video?
Sentry Mode will automatically record videos when it detects suspicious activity around the vehicle. To retrieve the videos, do these:
4️⃣How to View Tesla Dashcam Footage on Phone?
👉To view Tesla dashcam footage on phone, follow these steps:
Blink cameras are a popular choice for home security. They offer advanced motion detection, high-definition…
We found a very common question buzzing online, "How do I retrieve a deleted folder…
“It’s a big day tomorrow at the office and I’ve just completed all the slides…
Losing files from your Downloads folder can be frustrating, particularly when the files are very…
Instagram is a social media platform that allows users to share and store wonderful memories.…
A network drive is a storage device or a directory on a server that is…


