Temporary files, often referred to as TEMP files are created to temporarily hold data while a program is running. You might not think about these files much as they are often ignored, but they play a crucial role, especially during sudden shutdown or crash.
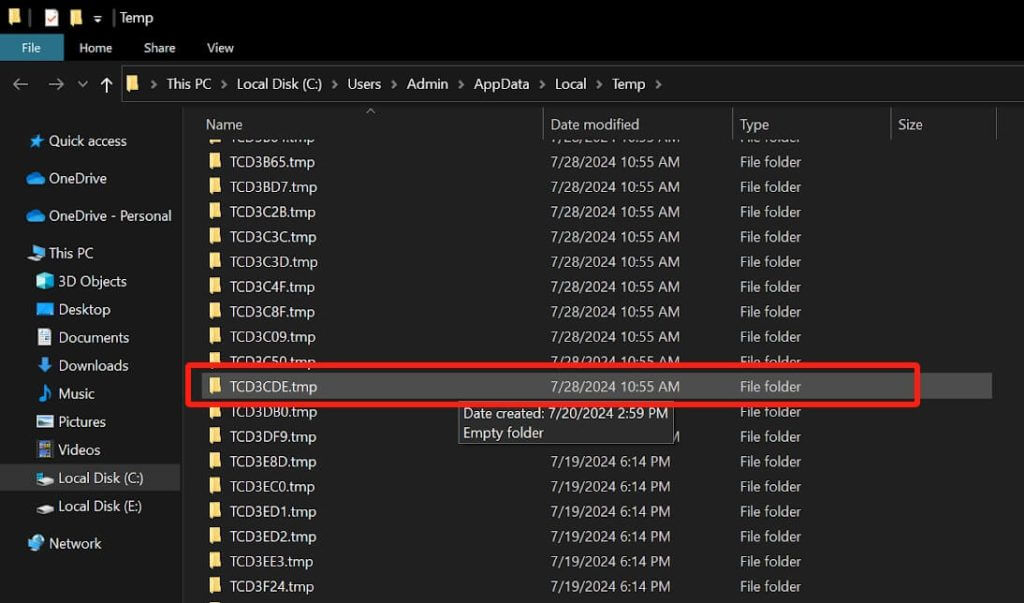
Are you wondering where to find these TEMP files on your Windows 10 or 11 system? They typically reside in a designated Temp folder, nestled within your system directories.
Curious about how to locate and recover these files if something goes awry? We are here to help. In this post we will guide you on how to recover TEMP files in Windows 11/10.
Yes. In many cases deleting Temp can be highly beneficial.
Why should temp files be deleted? TEMP files can accumulate over time and take up the valuable space on your computer. While these files are often necessary during specific tasks, they usually become unnecessary clutter after their associated programs are closed. And in that case, deleting them can free up storage and even improve your system’s performance.
👉To delete Temp files simply select the file and press Delete from the keyboard or right-click on the file and click the delete option.
If you are still not sure how to delete TEMP files in Windows safely, follow our detailed instructions in this guide on deleting TEMP files.
Remember the pro tip, clearing out these files periodically is a good maintenance practice to keep your system running smoothly.
Sometimes our TEMP files contain important unsaved work or data. And deleting these files can cause a real problem.
Thankfully, there are several ways to recover these files in Windows 11/10. Whether you have lost them through a system crash, an unexpected shutdown, or a manual deletion, you have options to try and get them back.
💡Here are 3 methods on how to find temporary files and restore your lost data.
One of the simplest ways to recover deleted TEMP files is by checking the Recycle Bin. Often, when TEMP files are deleted, they aren’t immediately removed from your system but are instead sent to the Recycle Bin.
👉Follow these steps to recover temp files windows 11:
This method works if the files were recently deleted and have not been permanently removed from your system.
What if you do not find your files in the recycle bin?
For more complex situations like this, a dedicated file recovery tool like TinyFrom ONERECOVERY is incredibly helpful. This software specializes in retrieving any of your lost data, including the TEMP files. It can be your savior in various scenarios, such as accidental deletion, system crashes, or virus attacks.
Why use ONERECOVERY? Because it is user-friendly, supports deep scans, and can recover a wide range of file types from pdfs, pngs to the temps.
👉Here’s how to use it:
3. Now run a quick or deep scan to search for your deleted TEMP files.
4. Once the scan is complete, preview the recoverable files.
5. Select the ones you need to restore and click the Recover button to retrieve them back to their original location.
For more details on using ONERECOVERY, check out this guide on recovering data.
Another effective method to recover temp files is by using the Windows File History feature. It is an in-built tool that automatically backs up versions of your files.
This is particularly useful if you have set it up prior to losing your TEMP files.
👉Here is how you can use File History to recover your files:
File History feature is useful when regular backups are made before your data is lost.
Temporary files hold the key to recovering our unsaved work and important data. So it is better to keep them safe to prevent any loss. As they say, “It’s better to be safe than sorry”.
Below we have discussed two effective methods to ensure your TEMP files are protected and recoverable.
1️⃣Set Up Automated Backups
One of the most reliable ways to protect TEMP files is by setting up automated backups. It can be done using Windows built-in features like File History or a third-party backup tool. By regularly backing up your system, you can ensure that all files, including temporary ones, are safely stored and can be restored if needed.
To set up File History, connect an external drive or set a network location and follow the steps we have discussed above. This method not only helps you recover TEMP files but any data.
2️⃣Use Reliable Disk Cleanup Tools with Care
While cleaning up your system to free up space, be cautious with disk cleanup tools. It’s essential to differentiate between unnecessary temporary files and those that might still be useful. Tools like Windows Disk Cleanup can help, but always review what will be deleted before proceeding.
Also, consider using software that specialises in managing TEMP files, which can help you identify and safely delete files that are no longer needed while preserving important ones. This proactive approach prevents the accidental deletion of files you may still need.
By implementing these methods, you can significantly reduce the risk of losing important temporary files and ensure that your work remains secure.
We understand losing your temporary files when you need them is frustrating. With our comprehensive guide on how to recover temp files and preventive measures you can avoid the fuss and safeguard your data.
Whether through backups or careful cleanup, these strategies help ensure your TEMP files are protected and accessible when you need them.
To wrap up, let’s address some frequently asked questions about TEMP file recovery. These answers will help you manage your temporary files more effectively.
Do you know where are TEMP files stored? In the Temp folder.
👉If you wish to change the location of your temp files for space management or security reasons, follow the steps below:
Losing unsaved Excel files is a nightmare, but the good news is Excel creates temporary files as backups.
👉Follow these steps to recover TMP files in Excel:
Word has an AutoRecover feature that can recover the unsaved Word documents of the day.
👉To find your unsaved Word documents, follow these steps:
For more detailed instructions, check out this guide on recovering unsaved Word documents. This method is a lifesaver when unexpected shutdowns occur.
Ever opened Excel only to see the dreaded message, "Excel has run into an error…
“I’ve had to download a Zip folder over and over again from different browsers, yet…
You are on a deadline, and the “PowerPoint found a problem with content” error hit…
“Recently, I’ve been having trouble with opening jpeg files on my computer. Whenever I try…
“I closed a Word document after saving, but I couldn't find it on my computer…
It can be frustrating when the final photos of your dish for the cooking blog…


