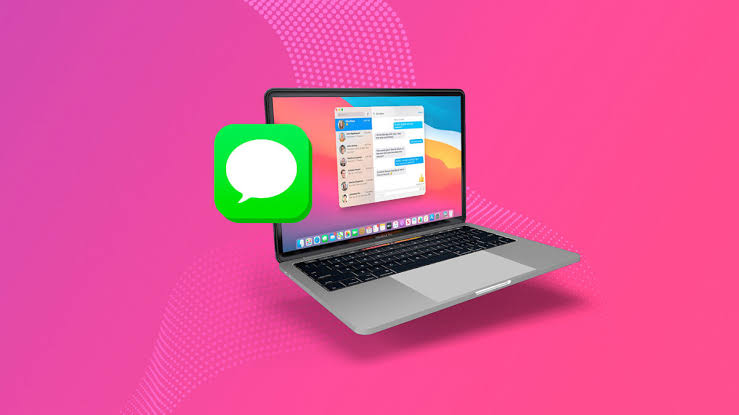
Losing your iMessages can be very painful, especially when you need to refer to some messages during conversations. In most cases, you mistakenly deleted them or they are set to be deleted automatically after a duration. Other times, the most likely reason why your conversation is incomplete is that you have enabled iCloud for iMessages and you deleted a message from another device that’s synced to the same iCloud account.

Whatever the case is, the good news is that you can get back your lost iMessages. In this article, we will explain how to recover iMessages on Mac effortlessly.
When seeking how to recover deleted messages on iMessage Mac, the first solution is to find out where iMessages are stored.
iMessages are located in the Messages app that comes with your Mac computer. They are stored locally, so you can access them without an internet connection.
👉Follow these steps to locate your iMessages:
How to restore iMessages on Mac becomes easier when you know how iMessages settings work, particularly the iCloud for Messages setting.
When iCloud is enabled for Messages on your Mac, your iMessages conversation will be synced to the cloud storage and your other devices where iCloud for Messages is also enabled. This means that if a message is deleted on your Mac, it’s automatically deleted from your other devices.
On the other hand, if iCloud for Messages is not enabled on your other devices, the iMessages will still be available despite deletion from your Mac.
Here are the 4 proven solutions on how to recover deleted iMessages on Mac. Keenly follow the instructions for a successful recovery.
This is the first solution to try when looking for how to retrieve iMessages on Mac because deleted iMessages are usually transferred to the Recently Deleted folder. They will remain there for 30 days after the deletion and will be permanently deleted from your Mac afterward. Thus, it’s recommended that you try this solution immediately if you notice your iMessage is missing.
If you frequently backup your data to iCloud, you can bank on the cloud storage to restore your iMessages. You can retrieve several data saved on your Mac using this solution, including recovery of permanently deleted photos from iCloud.
👉Follow these steps to know how to recover deleted iMessages on Mac using iCloud:
This is the most viable solution if you don’t have a backup or if your iMessages have been deleted across all platforms, including iCloud. It involves using professional file recovery software like ONERECOVERY.
ONERECOVERY is a special iMessage data recovery software, as it can restore iMessages from any lost condition whether accidental deletion, automatic deletion, iCloud syncing complications, etc. It has a dual scan system (Quick Scan and Deep Scan), which allows you to conduct simple or extensive searches for your missing iMessages, even long-lost messages like after 30 days.
This software offers an all-in-one solution for every lost data scenario. It can even be used to restore deleted emails and recover deleted notes on Mac.
👉Here are the steps for how to recover iMessages on Mac through ONERECOVERY:
Every Mac computer comes with a built-in backup feature called Time Machine. Its sole function is to create a backup of your Mac data for easy recovery if anything happens.
Time Machine creates backups for 24 hours, daily, weekly, and monthly basis. This allows you to view deleted iMessages on Mac history and easily track them for recovery.
However, Time Machine only works if you’ve set it up to back up your Mac data. Here’s a full guide to restore from Time Machine, including how to set it up and automatically back up your Mac data from time to time.
👉Follow these steps for how to get iMessages back through Time Machine:
If you’re unable to recover iMessages on Mac through iCloud, you can get them back on your iPhone. However, you will have to erase all the content and settings on your iPhone, so create a backup of your iPhone data before going forward.
👉Here’s how to get iMessages back on iPhone:
Losing your iMessages can be very disturbing but as seen above, there are many solutions on how to recover iMessages on Mac. It’s recommended that you create a regular backup of your Mac data. However, if you don’t have backups, you can trust the ONERECOVERY software to efficiently restore your iMessages.
Want to know more about how to recover deleted iMessages on Mac? Here are answers to 3 frequently asked questions.
1️⃣How to Recover Deleted Text Messages on MacBook Air?
👉For how to recover deleted iMessages on MacBook Air, follow these steps:
2️⃣How to Fix Recently Deleted Messages Not Showing on Mac?
Recently deleted messages are usually transferred to the Recently Deleted folder where they will be for 30 days before permanent removal. If your messages are not there, you will have to use the ONERECOVERY software. Simply follow the process of how to find deleted messages on Mac using ONERECOVERY as explained above.
3️⃣How to Find and Recover Old Messages on Mac?
Old messages will still be located on Mac no matter how long they’ve been sent or received.
👉Here are the steps to recover old imessages on Mac:
“I’ve somehow deleted the Downloads folder on my Mac while trying to create space. I’m…
“I took videos of my children when I taught them how to walk and when…
Does your MacBook Air refuse to boot up? The prospect of losing all your music…
Losing photos that were difficult to capture often results in a person becoming frustrated, anxious,…
Did you lose an email on your Mac and you are trying to get it…
“In the process of creating space on my MacBook Pro, I mistakenly deleted important files…