Made a partition on your Mac for testing and now you can’t remove it? In fact, this issue comes with many subsequent problems; among them is limited storage space on your Mac, which makes it more frustrating because finding where to save your files and documents becomes increasingly difficult. But hold on, because in this guide, you’ll find just the right way to remove partition Mac. That feels relieving, right? Then, continue reading.
What’s Partition on Hard Drive?
Before we dive into how to remove a partition on your Mac, it would be prudent to understand what a hard drive partition actually means. Don’t you think? Okay, let’s get to it: A partition refers to a division of the physical hard drive, allowing it to be split into multiple separate sections, each acting as a distinct hard drive. It’s useful for running different operating systems, organizing files, or keeping backup copies separate from main files.
💡Tips before Deleting Mac Partition
Hurriedly trying to delete the partition on Mac, because you’re eager to remove that “limited space” warning quickly, might cause more problems. That’s why I suggest you follow these tips before doing so:
- Backup Your Data: Before removing any partition, make sure to back up its contents. This helps avoid losing your data permanently if errors occur during the deletion. You can use Time Machine or your preferred backup software to do this.
- Check System Stability: Make sure that your Mac is stable and not displaying any signs of software issues. If there are ongoing issues, these might complicate the partition deletion process.
- Ensure Adequate Power: For MacBook users, connect your laptop to a power source before starting. This prevents your MacBook from shutting down in the middle of the process, which could lead to data corruption or loss.
Following these steps can help you safely and efficiently delete a partition on your Mac.
2 Solutions to Remove Partition on Mac
Your anxiety, which has kept you reading up to this point, will soon be alleviated. Whether you’re dealing with issues like freeing up storage space or a partition infected with malware, you can use any of the methods below to successfully remove partition Mac.
Method 1: Delete the Partition on Mac Through Disk Utility
Using Disk Utility can accomplish this in no time. This is because Disk Utility visually displays your storage devices and their partitions. This makes it easier to identify and select the specific partition you want to delete. Here is the guide that shows how you can do it:
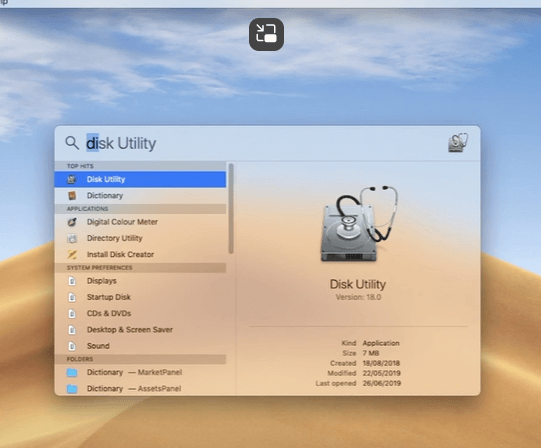
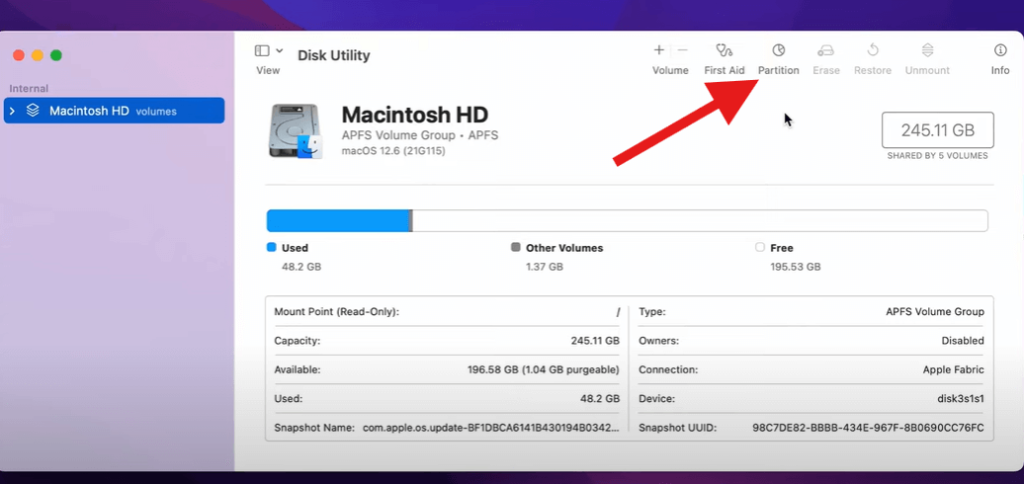
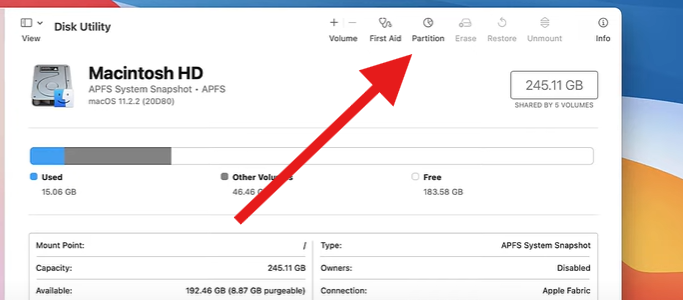
- Open Disk Utility, located in the Applications > Utilities folder or accessible via Spotlight. Once open, select the drive you wish to modify from the list on the left.
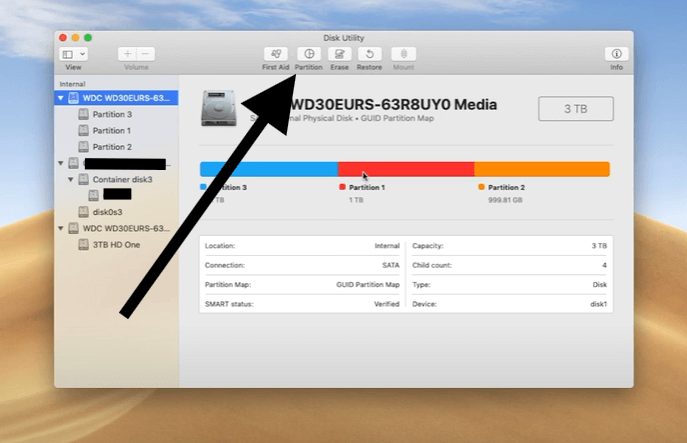
- Click the “Partition” button in the top menu to view a graphical representation of your disk partitions.
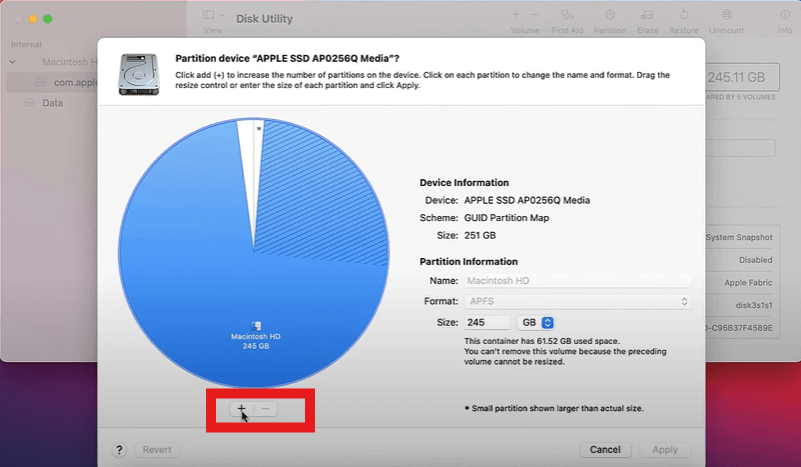
- To delete a partition, select it in the pie chart and click the minus (-) button below.
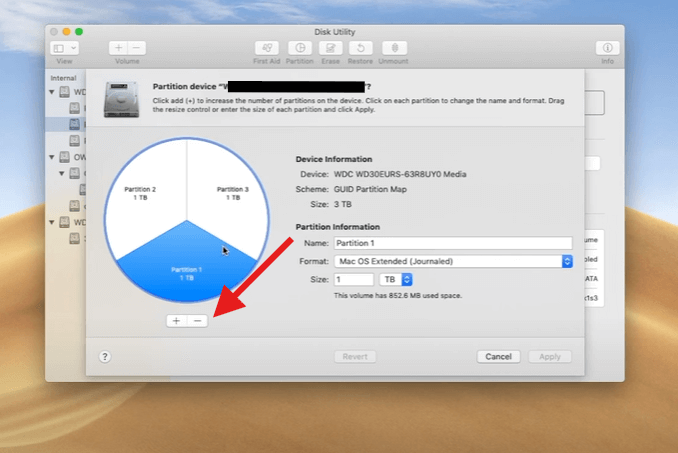
- Confirm by clicking “Apply,” then confirm again in the dialog box that appears.
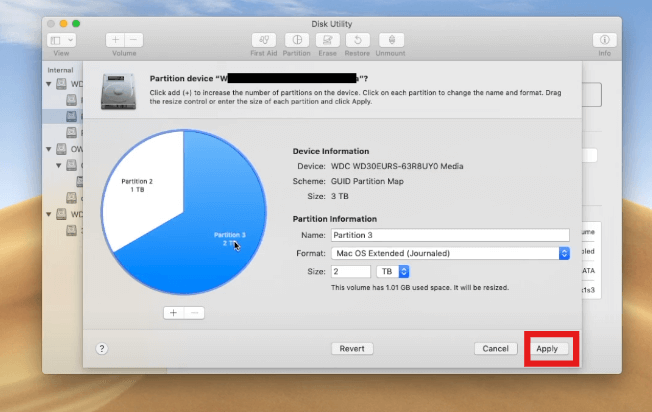
- Once complete, Disk Utility will display a confirmation message. Click “Done” to finish.
Method 2: Using Terminal to Remove MacOS Partition
All things considered, the method above solves all issues related to deleting partitions on Mac. However, in situations where it is not sufficient, another method available is using Terminal. Using Terminal commands, you can engage directly with the macOS Disk Utility system via the diskutil command. This method offers an enhanced level of control over disk management tasks, which might not be possible with the graphical interface of Disk Utility. Although Terminal may appear intimidating if you are not familiar with it, our well-detailed guide below should help you carry it out with no stress.
- Open Terminal: To access the terminal, go to Utilities in Applications or alternatively you can use Spotlight Search by pressing Cmd + Space then type “Terminal”
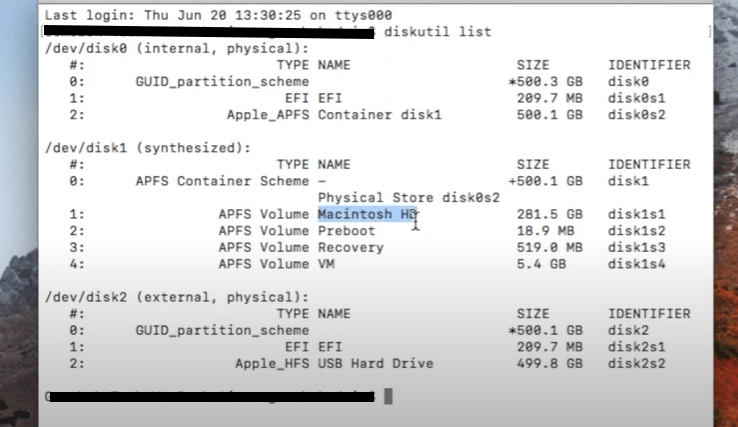
- List All Partitions: In the Terminal window, type diskutil list and press Enter. This command will display all disks and partitions on your Mac. Note the identifier of the partition you want to delete, such as disk1s3.
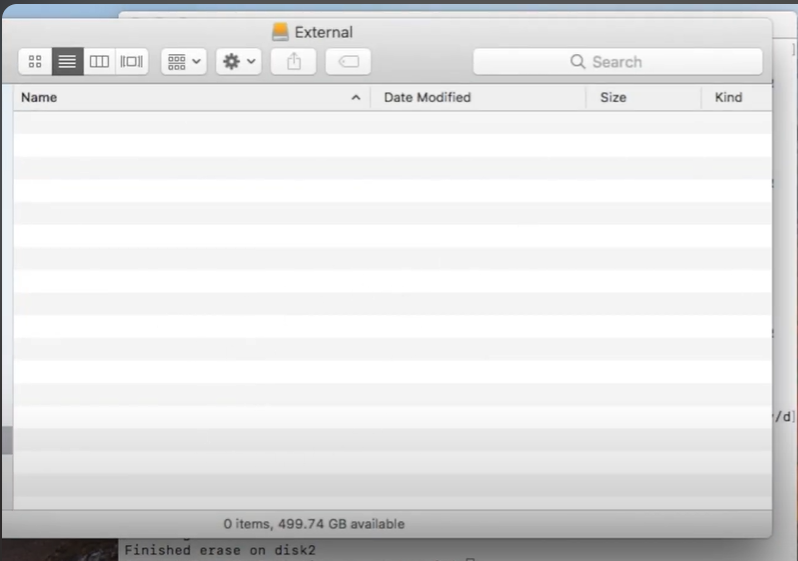
- Delete the Partition: Type the command diskutil eraseDisk APFS External/dev/[identifier] replacing [identifier] with the actual identifier of the partition you noted earlier. For instance, if the identifier is disk2s1, the command would be diskutil eraseDisk APFS External/dev/disk2s1.

- Verify the Deletion: After running the command, type diskutil list again to ensure the partition has been removed. There should no longer be a listing for the identifier you deleted.
- Final Check in Disk Utility: Open Disk Utility to visually confirm that the partition has been deleted. You won’t see the deleted partition in the list anymore.
💡Tips
- Ensure you make backups of all your data before removing any partitions, as this will erase all stored data. If you need to recover any partition deleted mistakenly, check out this blog: How to Recover Deleted Partitions
- Ensure you have the correct partition identifier to avoid accidental data loss.
- Pay close attention while typing Terminal commands; both syntax and spelling mistakes may lead to loss of Data.
- Keep an eye on Terminal outputs and address any errors or warnings immediately.
- Familiarize yourself with Mac recovery tools and methods in case of incorrect deletion.
Conclusion
Concerning any problems regarding deleting a partition on a Mac, this guide offers detailed steps on how to remove a partition on your Mac, ensuring you reclaim space or prepare your device for sale. Using Disk Utility or Terminal, you can safely delete partitions by following the provided precautions and procedures. This helps prevent data loss and maintain system stability before proceeding to remove partition Mac.
FAQs on Deleting HDD Partition on Mac
If you’re dealing with a damaged HDD partition that cannot be repaired, deleting it might be necessary to continue using the rest of the drive effectively. Here’s how to delete an HDD partition, along with some related questions that need answers.
1. How to Partition a Hard Drive on Mac?
Do you urgently need to run Windows alongside macOS? You may need Boot Camp in this situation, and this requires partitioning your hard drive. Here’s how it’s done:
- Before partitioning your hard drive, back up your data.
- Open Disk Utility, select your drive, and click ‘Partition’.
- Create a new partition, name it, choose a format, and specify the size.

- Click ‘Apply’ to confirm and complete the process.
2. How to Add a New Disk Partition on Mac?
Are you a developer or do you like to test new software and macOS updates without affecting your primary system? If so, a new separate partition might just be needed to serve as a testing environment. Follow these steps:
- Open Disk Utility from Applications or via Spotlight.
- Select the drive in Disk Utility, not a volume.

- Click ‘Partition’, add and name a new partition.
- Select APFS or Mac OS Extended, set size, and apply changes.
3. How to Remove Windows Partition from Mac?
Did you initially install Windows for specific applications or tasks that you no longer need? If so, it might make sense to remove the partition and use the space for macOS or other needs. Here’s how to do it:
- Prepare your Mac by backing up data and logging in as an administrator.
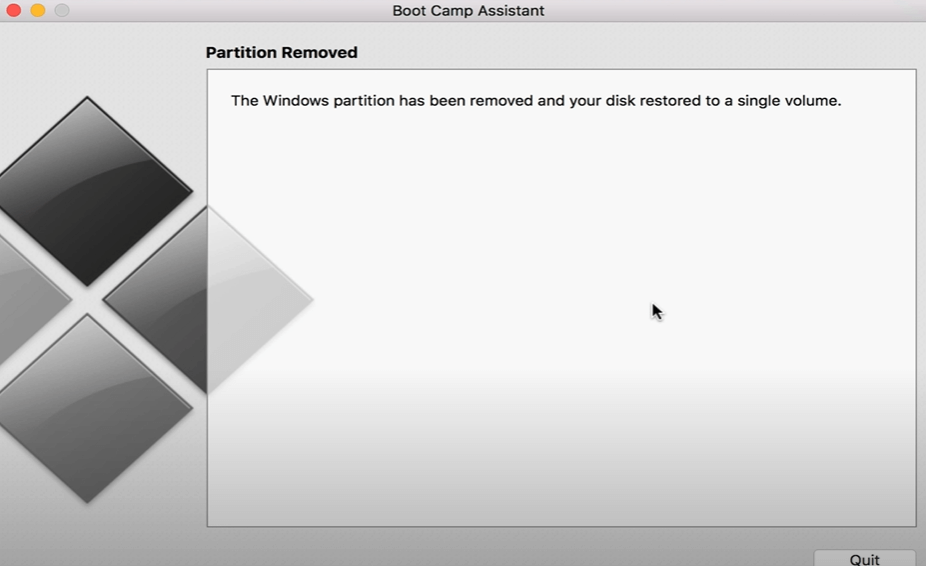
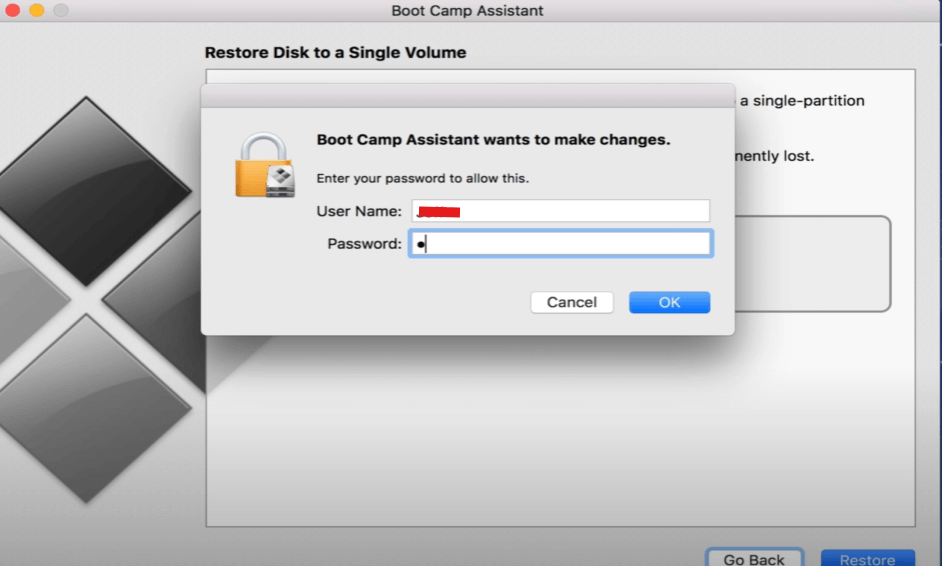
- Use Boot Camp Assistant to remove the Windows partition.
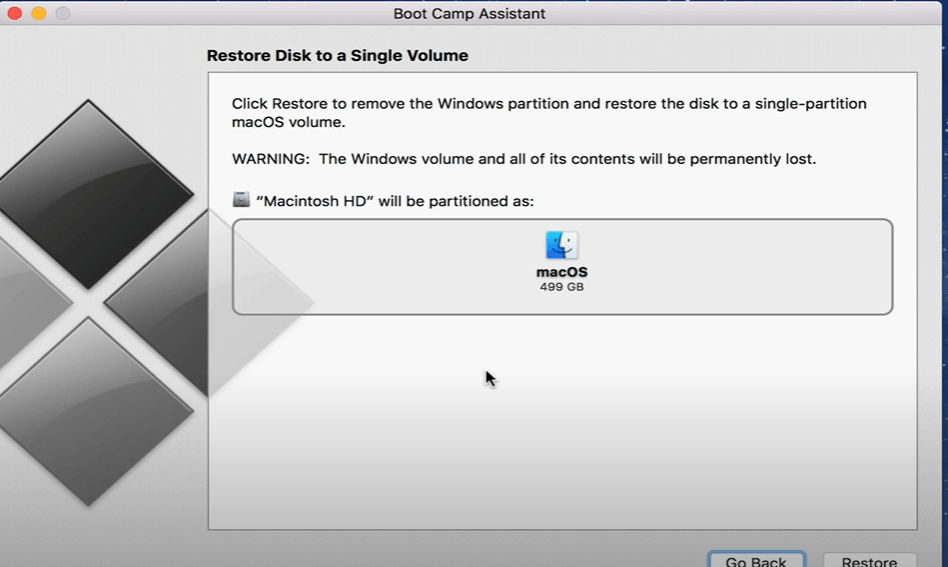
- Follow on-screen instructions.
- Verify removal with Disk Utility.